Introduction
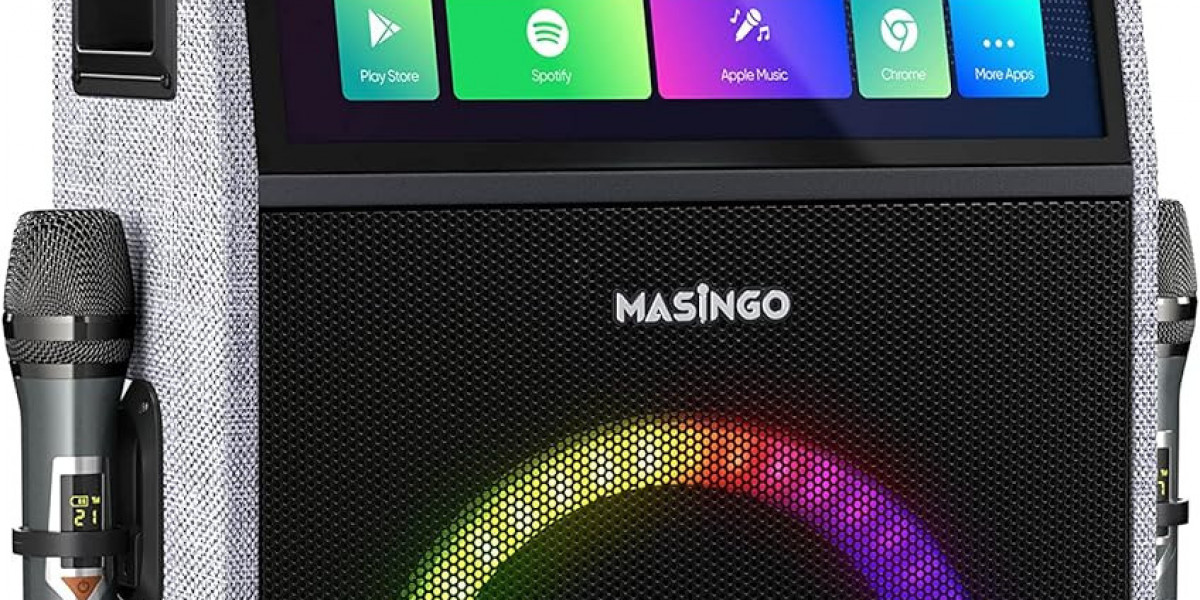
A karaoke machine can bring endless hours of entertainment, but what happens when it stops working? Whether you own one of the best karaoke machines, like the Karaoke USA GF842 or the Singing Machine Studio, or a basic model, issues can arise from time to time. Don’t worry; many common problems have simple solutions.
1. Check the Power Source
One of the most common reasons a karaoke machine stops working is a power-related issue. Start by inspecting the power source:
Ensure Proper Connection: Check that the power cord is securely plugged into both the machine and the outlet.
Test the Outlet: Plug another device into the same outlet to verify it’s functioning.
Inspect the Power Cord: Look for visible damage such as fraying or breaks. Replace the cord if necessary.
Recharge the Battery: If you’re using a portable karaoke machine, ensure the battery is fully charged. Recharge or replace the battery if needed.
2. Inspect the Microphone
A malfunctioning microphone can make it seem like your karaoke machine isn’t working. Follow these steps to troubleshoot:
Check Connections: For wired microphones, ensure the cable is securely connected. For wireless ones, check the pairing settings and battery life.
Test the Microphone: Use the microphone with another device to determine if the problem lies with the mic or the machine.
Replace the Microphone: If the microphone is damaged, consider upgrading to a high-quality model from brands like Shure or Audio-Technica.
3. Examine the Audio Output
If there’s no sound or distorted audio, the issue could be with the speakers or audio settings:
Adjust Volume Levels: Ensure the volume is turned up on both the karaoke machine and any connected devices, such as external speakers or amplifiers.
Check Speaker Connections: For machines with external speakers, verify that the cables are securely plugged in.
Test External Devices: If you’re using a soundbar or Bluetooth speaker, confirm that it’s properly connected and functioning.
Reset Audio Settings: Restore the machine’s audio settings to default to resolve any configuration issues.
4. Troubleshoot Display Problems
Many modern karaoke machines come with built-in screens to display lyrics. If the display isn’t working:
Check Screen Brightness: Adjust the brightness settings to ensure the screen isn’t too dim.
Inspect Connections: For machines connected to external displays, ensure the HDMI or AV cables are secure and undamaged.
Test Another Screen: Connect the karaoke machine to a different monitor or TV to see if the issue lies with the screen or the machine.
5. Verify Connectivity
Most karaoke machines rely on Bluetooth, USB, or Wi-Fi for connecting to devices and song libraries. If your machine isn’t connecting:
Reset Connections: Disconnect and reconnect Bluetooth or Wi-Fi devices. Restart both the machine and the device you’re pairing with.
Check Compatibility: Ensure the machine is compatible with your smartphone, tablet, or streaming service.
Update Firmware: Some connectivity issues can be resolved by updating the machine’s firmware. Check the manufacturer’s website for updates.
6. Address Software or Song Library Issues
If the karaoke machine freezes or doesn’t play songs correctly, the problem might be software-related:
Restart the Machine: A simple reboot can often resolve temporary glitches.
Test Media Files: If you’re using USB drives or SD cards, ensure the files are in supported formats and not corrupted.
Reinstall Apps: For app-based machines, uninstall and reinstall the karaoke app to fix bugs.
7. Eliminate Feedback and Noise
Feedback or unwanted noise can ruin your karaoke session. Here’s how to address it:
Reposition the Microphone and Speakers: Keep the microphone away from the speakers to reduce feedback loops.
Lower Volume Levels: Reduce the volume of both the microphone and speakers slightly.
Use High-Quality Cables: Shielded cables can minimize interference and static noise.
8. Consult the User Manual
If you’ve tried all of the above steps and the machine still isn’t working, refer to the user manual. It may include specific troubleshooting tips or error codes relevant to your model.
9. Contact Customer Support
For persistent issues, reach out to the manufacturer’s customer support team. Provide details about the problem, including:
The model and serial number of your karaoke machine
A description of the issue and troubleshooting steps you’ve already taken
Proof of purchase if the machine is still under warranty
10. Consider Professional Repairs
If your karaoke machine requires repair, check if the manufacturer offers a service center or authorized repair shop. For older machines, weigh the cost of repairs against the price of a new model. Sometimes, upgrading to a newer machine like the Pyle Bluetooth Karaoke PA System can offer better features and reliability.
Preventive Maintenance Tips
To avoid future issues, practice these preventive maintenance tips:
Store Properly: Keep the machine in a dry, dust-free location when not in use.
Clean Regularly: Wipe down surfaces and cables to prevent dirt buildup.
Update Firmware: Regularly check for software updates to ensure optimal performance.
Inspect Components: Periodically check cords, microphones, and speakers for signs of wear.
Conclusion
When your karaoke machine stops working, it doesn’t have to signal the end of the fun. By following these troubleshooting steps and maintaining your equipment, you can keep the music going. Investing in one of the best karaoke machines can also reduce the likelihood of encountering problems. Whether you’re troubleshooting on your own or seeking professional help, getting your karaoke machine back in action is easier than you think!


